Last updated November 20, 2026
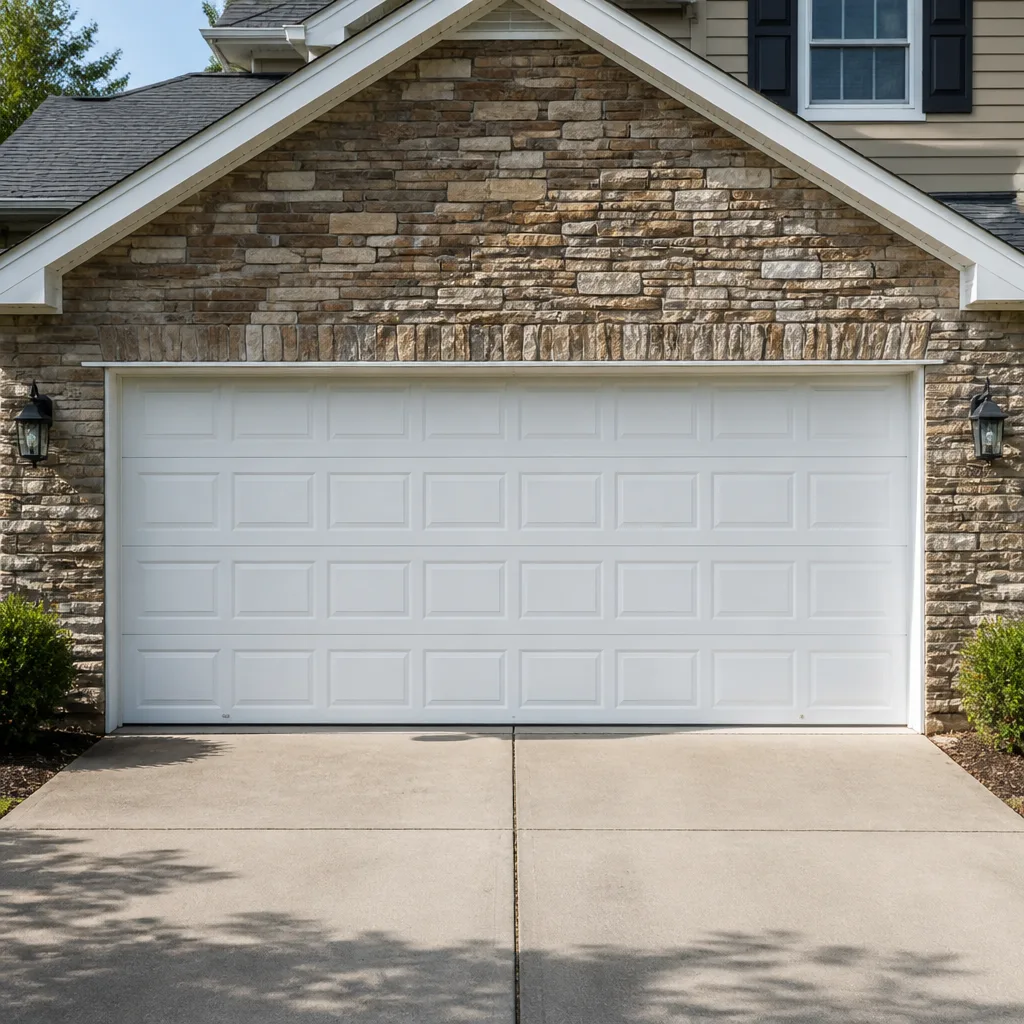 Raised-panel steel
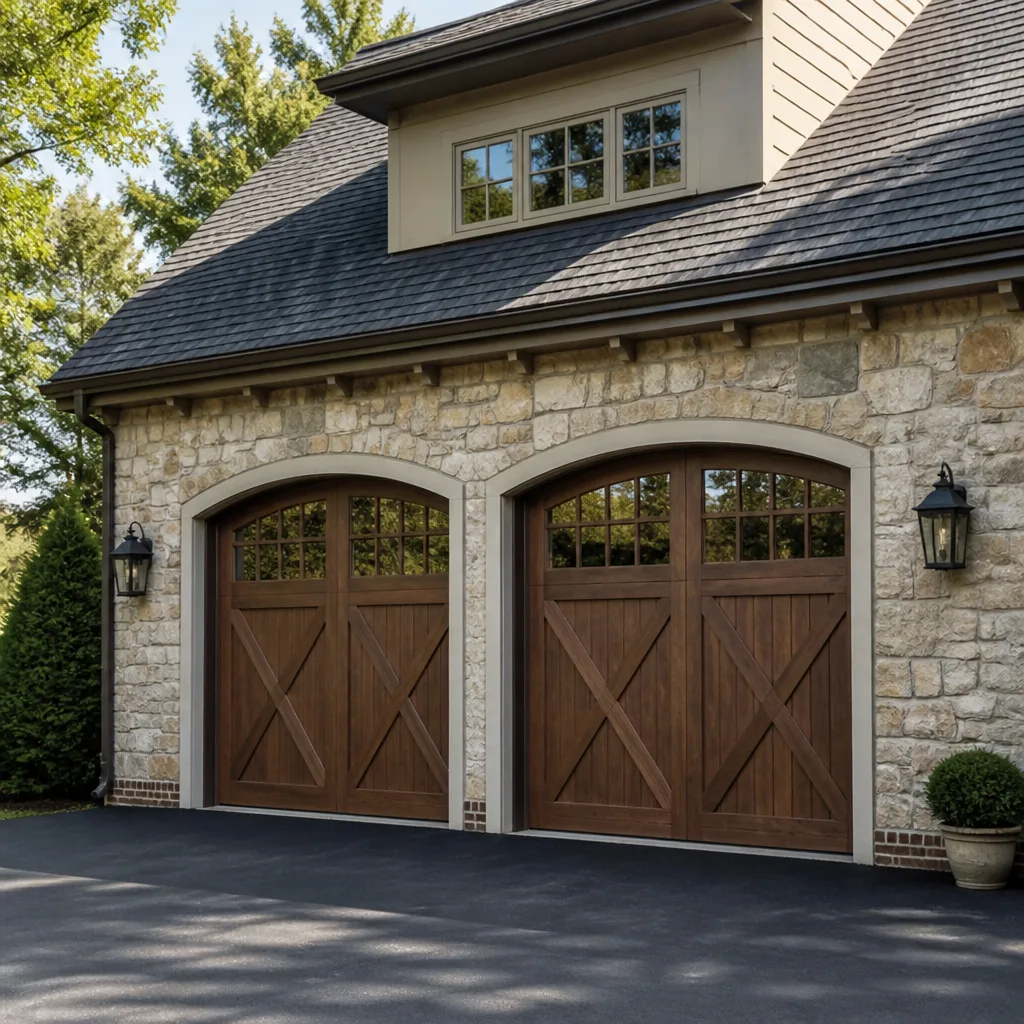 Carriage house
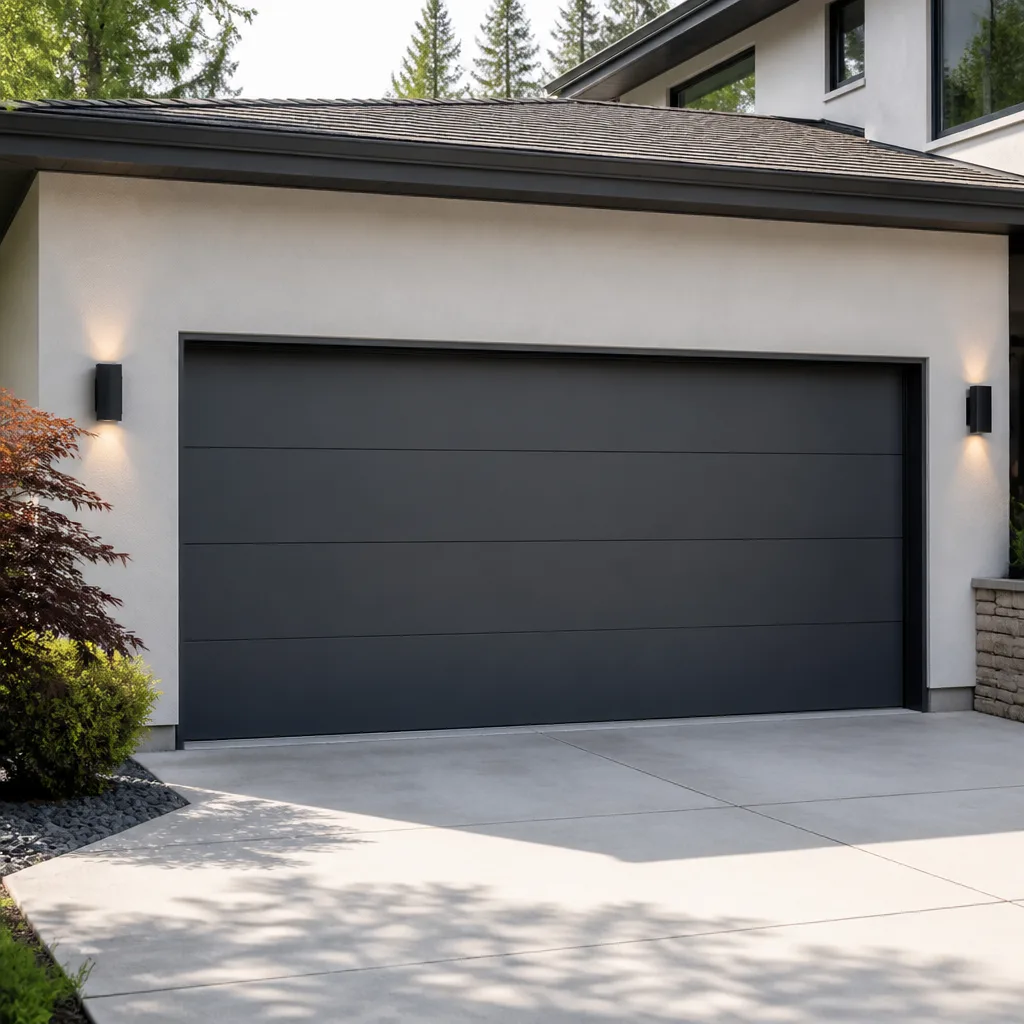 Modern flush
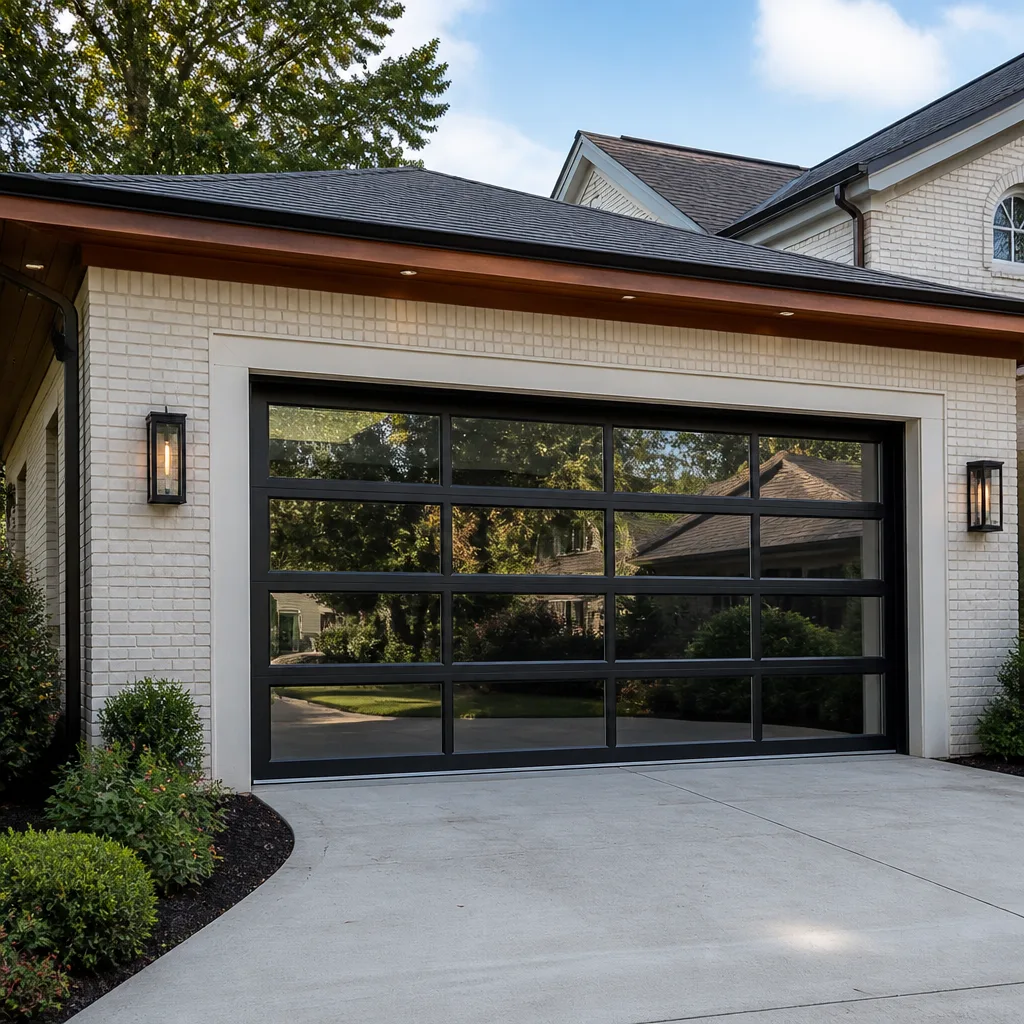 Full-view glass
 LiftMaster openers
 Chamberlain openers
Full 25-point door and opener safety check with every visit - springs, cables, rollers, tracks, and your LiftMaster or Chamberlain opener included
You get a price before we start. It does not change when the pro arrives.
Get your free estimateGarage Door Repair Maintenance Checklist for Deerfield Beach Homeowners
Most homeowners think the garage door is fine until it stops working. It rarely works that way. In our experience, doors here give plenty of warning, and it’s usually in places nobody thinks to look: corrosion creeping across torsion spring coils, worn spots on the bottom brackets, a photo-eye sensor that misreads the low sun. Those clues hide in plain sight, and they’re invisible until something snaps. This guide lays out a real maintenance routine built around how Deerfield Beach garages actually age, tied to Florida’s rainy season, hurricane prep, and the long heat cycles that wear hardware faster than the calendar suggests. You’ll learn what to inspect, when to inspect it, and where the line sits between what you can safely handle and what needs a technician.
Quick Answer
A solid garage door maintenance routine for Deerfield Beach runs on a seasonal calendar rather than four generic seasons: inspect springs and hardware monthly, lubricate moving parts on a set schedule, test the safety reverse and photo-eyes every month, tighten bolts a couple of times a year, and book a full professional tune-up before hurricane season and again after the wet months. Corrosion on springs and bottom brackets is the failure point most people skip. Lubrication is easy. Catching a corroded coil before it breaks is what actually keeps the door working.
Styles & brands we work with
- Raised-panel steel
- Carriage house
- Modern flush
- Full-view glass
- LiftMaster openers
- Chamberlain openers
Table of Contents
- The Deerfield Beach Seasonal Maintenance Calendar
- Start With the Springs, Not the Lubricant
- The Hardware That Corrodes Fastest
- Testing Auto-Reverse and Photo-Eyes in Bright Sun
- The Monthly Walk-Through, Step by Step
- What You Can Do Yourself vs. What Needs a Technician
- Documenting Condition Before You Call
- Common Mistakes to Avoid
The Deerfield Beach Seasonal Maintenance Calendar
Generic checklists tell you to inspect in spring and winter. That advice was written for climates with four distinct seasons, and it doesn’t map onto Deerfield Beach. What matters here is the rainy stretch from late spring through fall, the hurricane prep window in early summer, and the year-round heat that expands and contracts metal and dries out lubricant faster than most people expect. Our maintenance advice is built backward from those three realities.
Here’s how we’d frame the year for a Deerfield Beach garage door:
- Before hurricane season (late spring). Check the door’s balance, tighten all bolts, test the safety reverse and photo-eyes, and confirm the door closes evenly. A door that binds or won’t seat properly is a problem when wind loads rise.
- During the rainy months (summer through early fall). Watch for water intrusion at the bottom seal and look for fresh rust on the bottom brackets, cable drums, and spring anchor plate. Humidity accelerates corrosion.
- After the wet season ends (late fall). Re-check the hardware you flagged during the rainy months, clean and re-lubricate springs and moving parts, and clear any debris that collected along the tracks.
- Year-round monthly checks. Test the safety reverse and photo-eyes, listen for new noises, and look for anything that changed since last month.
The reasoning is simple. Heat and humidity are the two biggest drivers of garage door wear in Deerfield Beach, and both peak during the warmer, wetter months. Tightening the schedule around when the door is under the most stress is more useful than flipping a calendar page and calling it maintenance.
Start With the Springs, Not the Lubricant
The most skipped maintenance task in a Florida garage isn’t lubrication. It’s checking the springs. Torsion springs sit above the door on a steel shaft, and extension springs run along the horizontal track. Both are under high tension, and both corrode from the inside out in humid conditions. You can’t always see the damage from the outside of the coil. Then one day the door drops, or lands crooked, and the problem is obvious.
Springs are the reason we treat garage door spring repair as a safety issue rather than a routine fix. A torsion spring can hold hundreds of pounds of tension, and handling one incorrectly is genuinely dangerous. That’s why it’s not a job for a general handyman, and it’s certainly not a DIY weekend project. Our technicians are trained specifically on spring handling, and they work on the brands homeowners here actually own: LiftMaster, Chamberlain, Genie, Clopay, Amarr, Wayne Dalton, Craftsman, and Raynor.
What can you safely check? A few visual things:
- Look along the length of each spring coil for rust streaks, orange dust, or any visible gap. A separated spring is broken and the door should not be operated.
- Watch and listen when you open the door. A bang or snap is a broken spring, not a nuisance noise.
- Open the door halfway by hand (with the opener disengaged, and only if the door is light enough to lift safely) and see if it stays in place. If it drops or races upward, the spring is out of balance.
If any of those checks turns up a problem, stop operating the door and call a technician. A trained eye on Deerfield Beach Garage Door Repair Pros can tell you whether it’s a single broken spring or a pair that’s worn evenly and should be replaced together.
The Hardware That Corrodes Fastest
Humidity in South Florida doesn’t just make springs rust. Specific pieces of hardware take the hit first, and they’re the same ones homeowners rarely think about. If you want to check a Deerfield Beach garage door efficiently, start with these:
- Bottom brackets. These anchor the lowest corner of the door and carry the cable. They sit low, close to the ground, where moisture and debris collect. Corroded or loose bottom brackets are a common failure point.
- Spring anchor plate. The plate that holds the torsion springs to the wall is under constant load and hidden behind the coils. Look closely for rust where the springs meet the plate.
- Cable drums. The drums at each end of the torsion shaft wind the lifting cables. Corrosion here throws the cables out of alignment, which is both a safety and a balance problem.
- Hinges and rollers. Small but easy to overlook. A squeaky or stiff roller puts extra load on the opener, which wears the motor faster.
- Bottom seal and weather stripping. When the seal hardens or tears, water reaches the door’s bottom edge and rusts the panel from inside out.
A quick visual pass along the bottom track and spring assembly once a month catches most of this early. If rust is spreading on structural hardware like brackets or drums, that’s a technician call, not a spray-and-wait situation. Corrosion that reaches the load-bearing hardware is what leads to surprise failures later.
Testing Auto-Reverse and Photo-Eyes in Bright Sun
Two safety systems protect anyone standing under a closing door: the auto-reverse, which sends the door back up if it hits something, and the photo-eye sensors at the bottom of each side, which stop the door if something crosses the beam. In Florida, the photo-eye sensors are the more common failure, and it’s almost always the sun. Direct sunlight hitting one sensor can overwhelm its receiver, tripping a false reversal and leaving the door halfway down with no obvious cause.
Here’s how to test both in two minutes:
- Photo-eye test. With the door open, wave a hand across the beam at the base of the tracks. The opener should make a click and the door should not move. If it moves or nothing happens, the sensors lost alignment or one failed from sun exposure.
- Auto-reverse test. Place a flat object like a 2×4 on the ground directly under the door and close it. The door should reverse after contacting the object. If it isn’t stopping, the opener’s force setting is too high and the door needs adjustment.
- Sunlight check. If the door misbehaves only in midafternoon or when the sun is low, the sensors are being overpowered. Small shade caps or repositioning the eye slightly can help; adjusting the opener’s logic to handle bright light is a technician job.
If you own a Chamberlain, LiftMaster, or Craftsman opener with a Wi-Fi or smart-home connection, the app will usually log a sensor fault when this happens. That log is worth keeping. If the sensor issue repeats, garage door opener repair is the call. Our technicians repair both traditional RF openers and app-connected systems, so the fix matches the electronics you actually have.
The Monthly Walk-Through, Step by Step
A full monthly check takes about ten minutes and doesn’t require tools beyond a screwdriver. Here’s the order we’d recommend. Each step is something you can safely do without putting your hands near the springs or cables.
- Listen. Open and close the door once and pay attention. Grinding, snapping, or squealing are warnings; a quiet hum is normal.
- Look up. Visually inspect the springs and overhead hardware for rust, gaps, or sagging.
- Check the bottom seal. Look for tears or stiffness. A hardened seal lets water under the door.
- Run the photo-eye test. Wave something across the beam and confirm the door reverses.
- Run the auto-reverse test. Use the 2×4 method and confirm the door reverses on contact.
- Tighten visible bolts by hand. Bolt heads on the tracks and hinges can work loose from vibration. Finger-tight is enough. Don’t over-torque.
- Wipe down the tracks. Debris and corrosion at the track edges bind the rollers. A dry cloth and a light wipe is enough.
- Check the balance. With the opener disengaged and the door at halfway, it should hold position. If it doesn’t, springs are out of balance and the door shouldn’t be operated until a technician looks at it.
That last one is the single most informative test on the list. Balance problems show up long before the door stops working entirely, and they’re the early sign that the springs need attention.
What You Can Do Yourself vs. What Needs a Technician
The safest way to think about garage door maintenance is this: the parts you can touch without loading them are yours to handle, and the parts under tension are the technician’s. That line isn’t arbitrary. Springs and cables hold the full weight of the door, and touching them wrong is how people get hurt.
Safe for homeowners
- Lubricating springs, hinges, and rollers with a garage-door-specific lubricant
- Wiping track surfaces and clearing debris
- Testing the photo-eyes and auto-reverse
- Replacing the bottom seal and weather stripping
- Tightening visible bolts by hand
- Replacing older remote batteries
- Visual inspections and photos
Needs a trained technician
- Repairing or replacing torsion or extension springs
- Adjusting or replacing lifting cables
- Replacing cable drums or bottom brackets
- Adjusting the force or travel settings on the opener
- Replacing opener motors, logic boards, or sensors
- Adjusting a door that binds, scrapes, or won’t close evenly
- Any hardware change that requires disconnecting the door from the opener
One more line we’d draw: if the door was damaged in a storm or a vehicle backed into it, don’t force it open and closed. A bent panel puts uneven load on the springs and the opener, and what looks like a small dent can turn into a larger repair. A trained eye catches that on the first visit. Our technicians have up to 12 years of experience and work exclusively on garage doors, which means every tool and every part on the truck serves that one trade. We’re repair-first: fix the door you have before suggesting anything else.
Documenting Condition Before You Call
When something goes wrong, a good photo set is worth more than a long description. It also changes how accurately a repair estimate can be quoted. Instead of guessing based on a phone call, the technician arrives knowing what they’ll find and can give you a written estimate that matches reality. That’s the difference between a real number and a rough guess.
Here’s what to capture when you’re documenting a Deerfield Beach garage door issue:
- The springs. Photograph the full length of each spring with your phone’s flash. Rust, gaps, and sagging show up clearly.
- The bottom brackets and cable drums. Stand at the base of the door and photograph both sides, straight on.
- The door’s balance point. Open the door halfway, disengage the opener, and take a photo of where it stops. That tells the technician whether the balance is off.
- The opener label. Snap the model tag on the motor, usually on the back panel. It tells the tech the brand and the model year, whether it’s a LiftMaster, Chamberlain, Raynor, or something else.
- The sensors and tracks. A shot down each track from the ground, and one of each photo-eye lens.
- The door panels. Wide shot of the outside, showing any denting, alignment issues, or panel separation.
Store those photos in one place and note the date. If you end up needing garage door repair six months from now, the older photos become your baseline. You’ll know what changed and what was already there. That’s the difference between calling a technician with a clear problem and calling them blind.
Common Mistakes to Avoid
- Skipping spring inspection because “the door still opens.” A door that opens fine can still be operating on a spring that’s about to break. Check the coils every month, not just when something fails.
- Lubricating with WD-40 or cooking oil. These dry out or attract dust and can gum up the tracks. Use a garage-door-specific lubricant designed for springs and hinges.
- Assuming the photo-eye mismatch is a broken sensor. Bright afternoon light mimicking a fault is more common than an actual sensor failure. Reposition and shade the eye before assuming the opener needs parts.
- Tightening bolts with a power tool. Over-tightening warps the tracks and cracks hinges. Hand-tight is the right torque on a garage door.
- Forcing the door open after it jams. If the door won’t move, it’s usually a balance or spring issue. Forcing it can cause a dangerous snap or a dropped panel.
- Ignoring small rust spots on structural hardware. Rust on the spring anchor plate or bottom brackets doesn’t stop on its own. Treat it as a technician call, not a spray-and-wait situation.
- Replacing the whole door because the opener fails. Most components are repairable. A repair-first technician will diagnose the opener, not sell you a new door.
When to Call a Professional
Some garage door problems are genuinely urgent, and it’s worth knowing when to stop troubleshooting and call. The list includes: any broken or visibly sagging spring; a door that drops quickly or won’t hold position when opened halfway; a snapped or frayed lifting cable; a door that won’t reverse on contact with an object; repeated photo-eye failures after you’ve cleaned and repositioned the sensors; a bent panel or damaged bracket after a storm or a vehicle strike; and any strange noise from the opener chain or motor that doesn’t go away after lubrication.
Deerfield Beach Garage Door Repair Pros offers free estimates in Deerfield Beach. A technician can diagnose on site, tell you what actually needs repair, and quote a written price before work begins. All our work is quoted and agreed before anything starts, so the number you hear is the number you approve. That’s the standard to expect on every call.
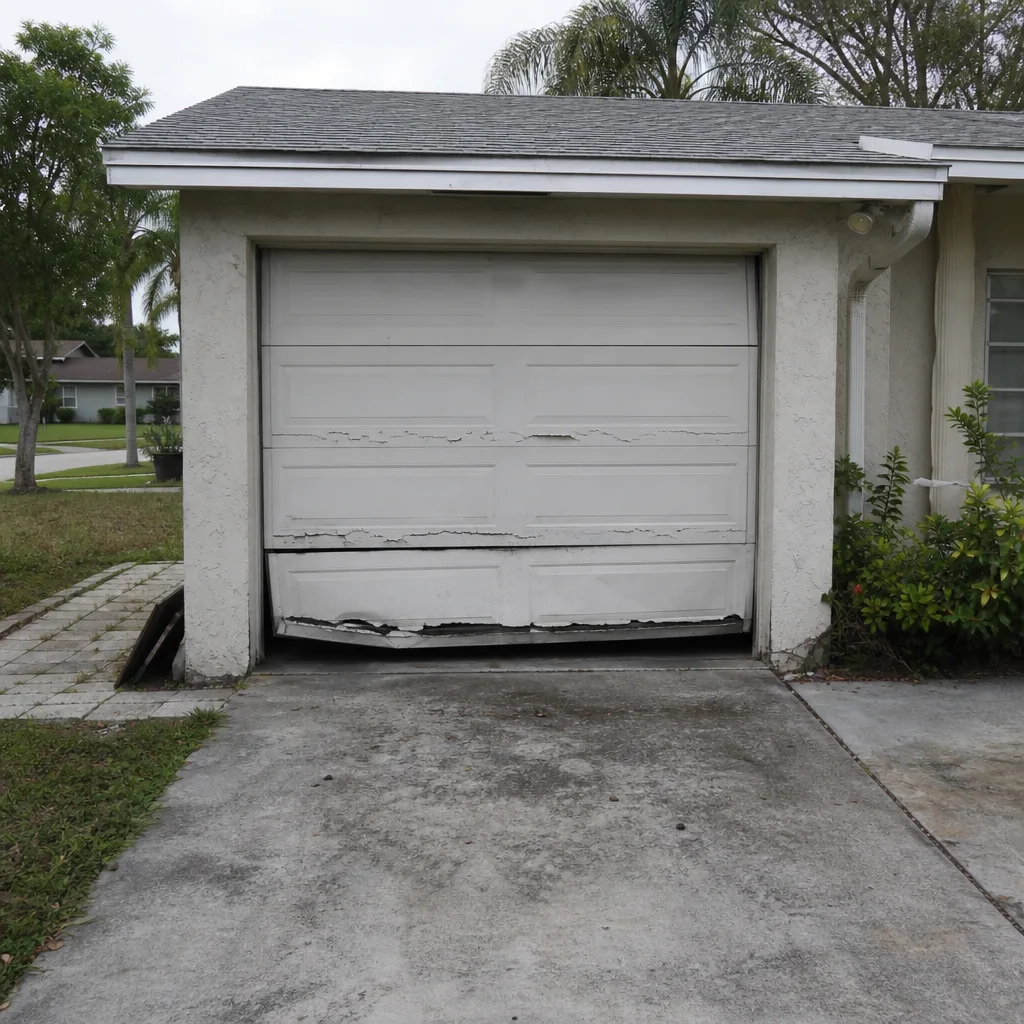
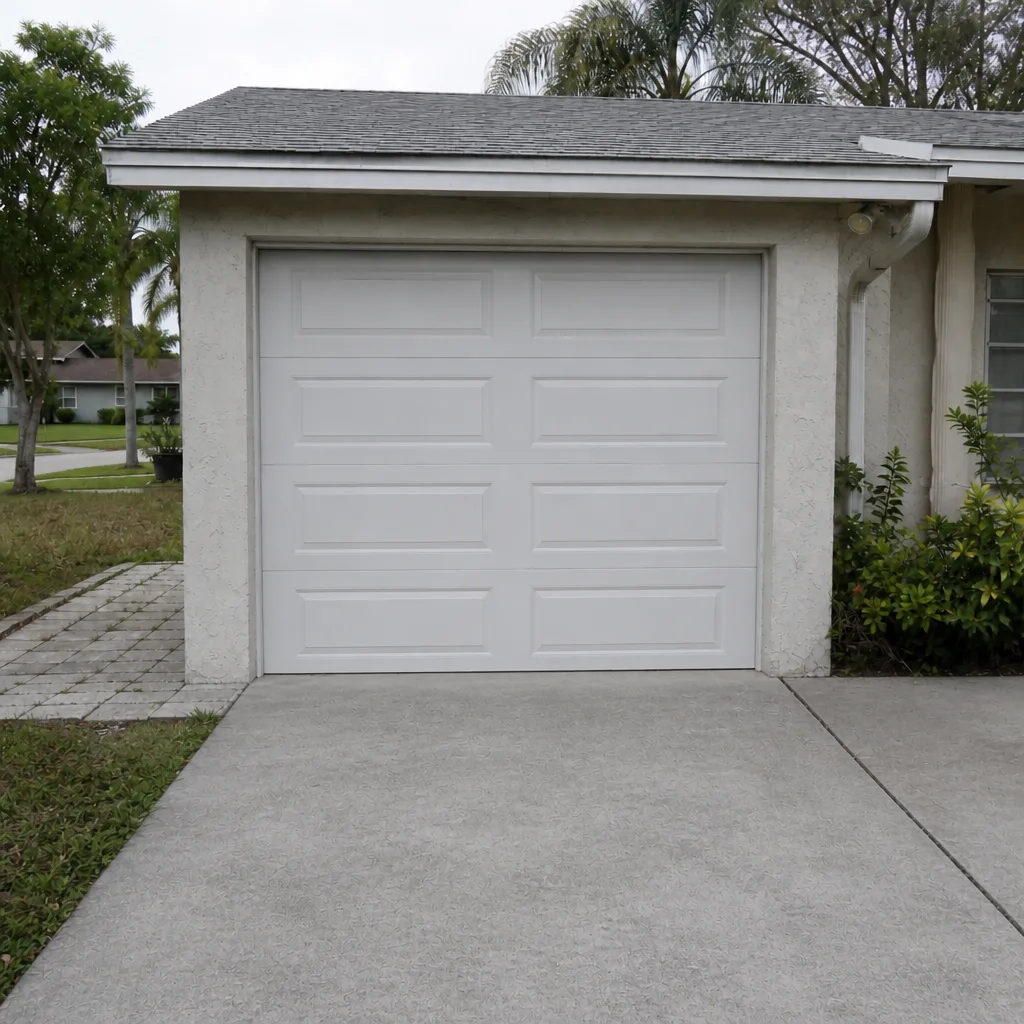
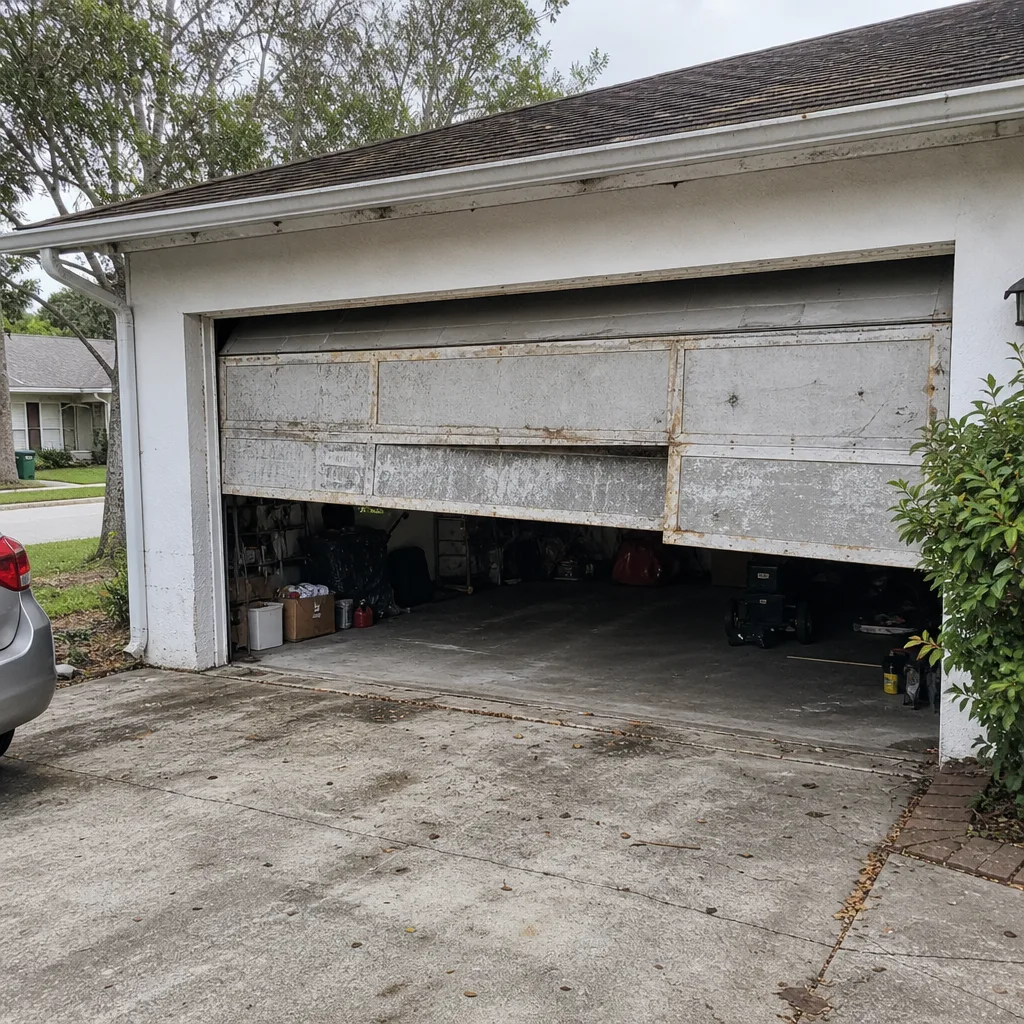
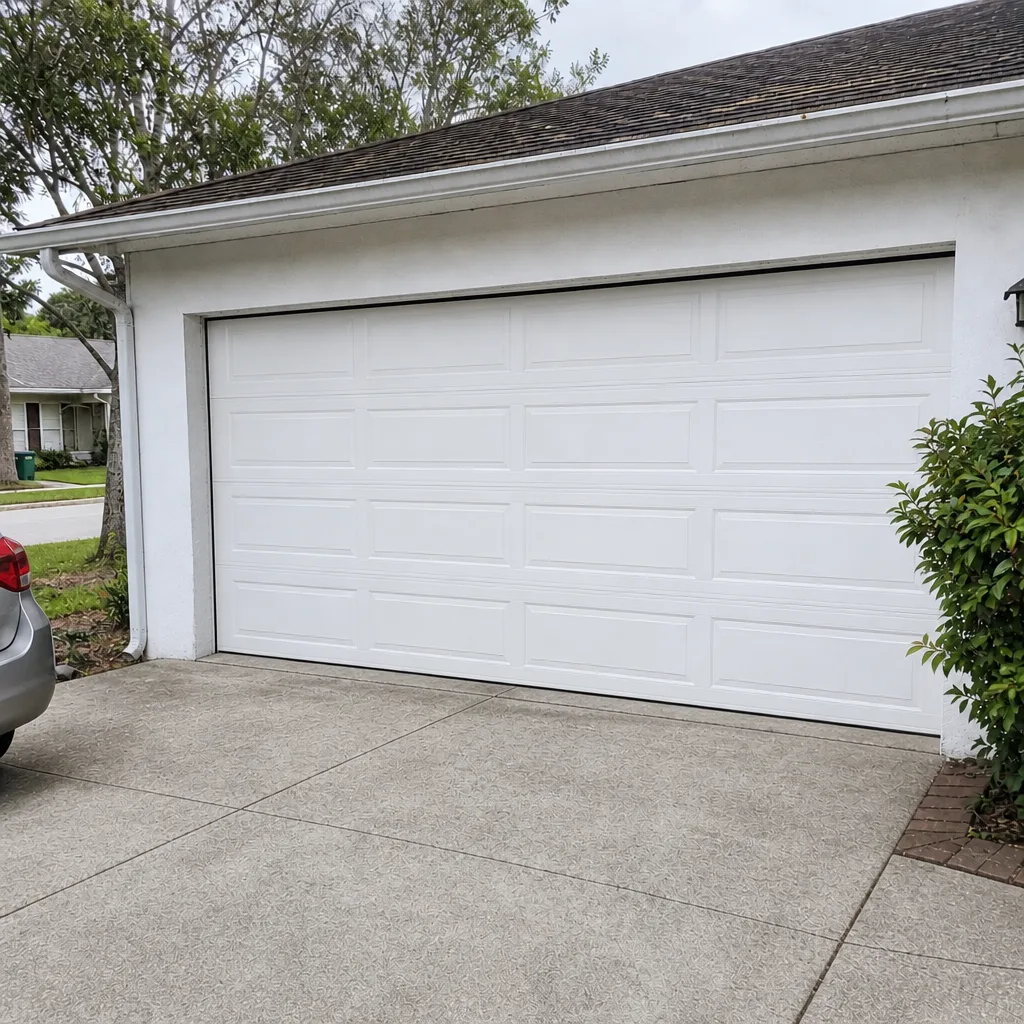
See the difference
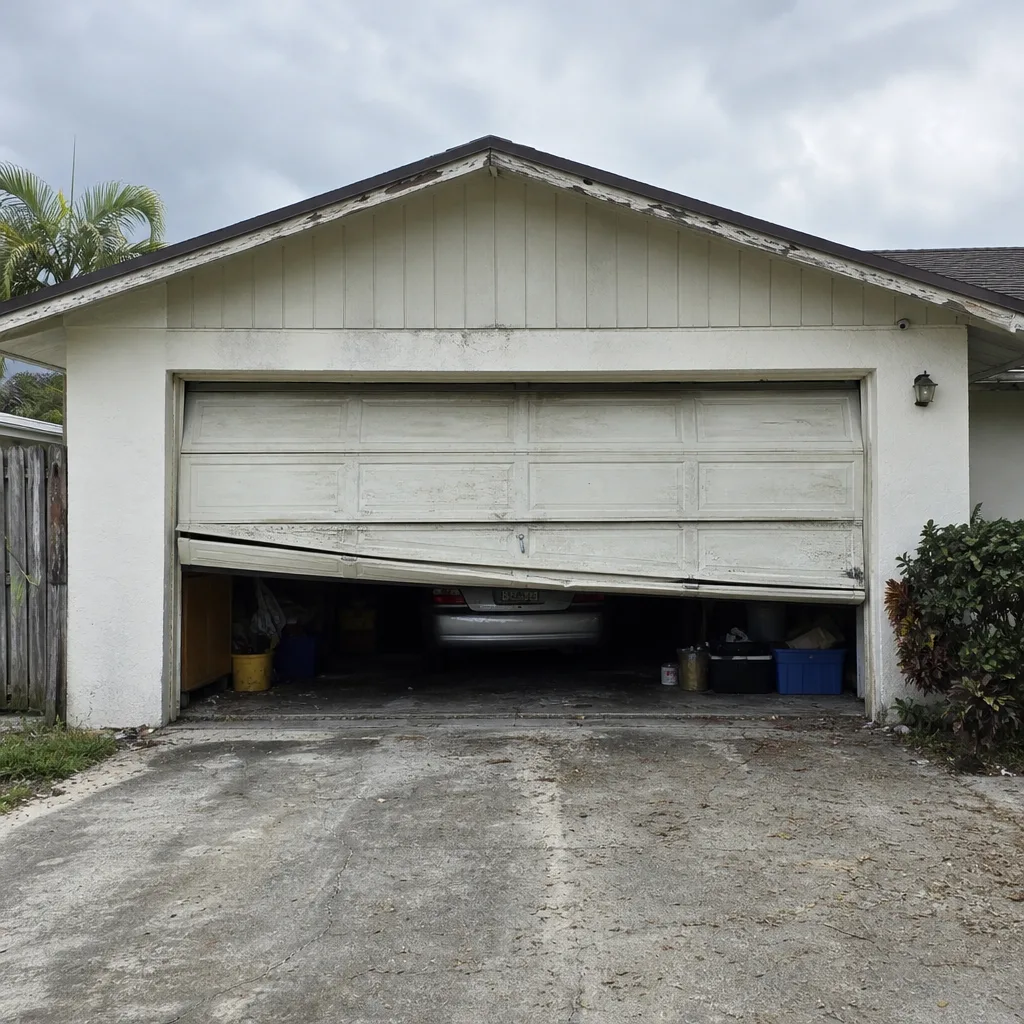 Before
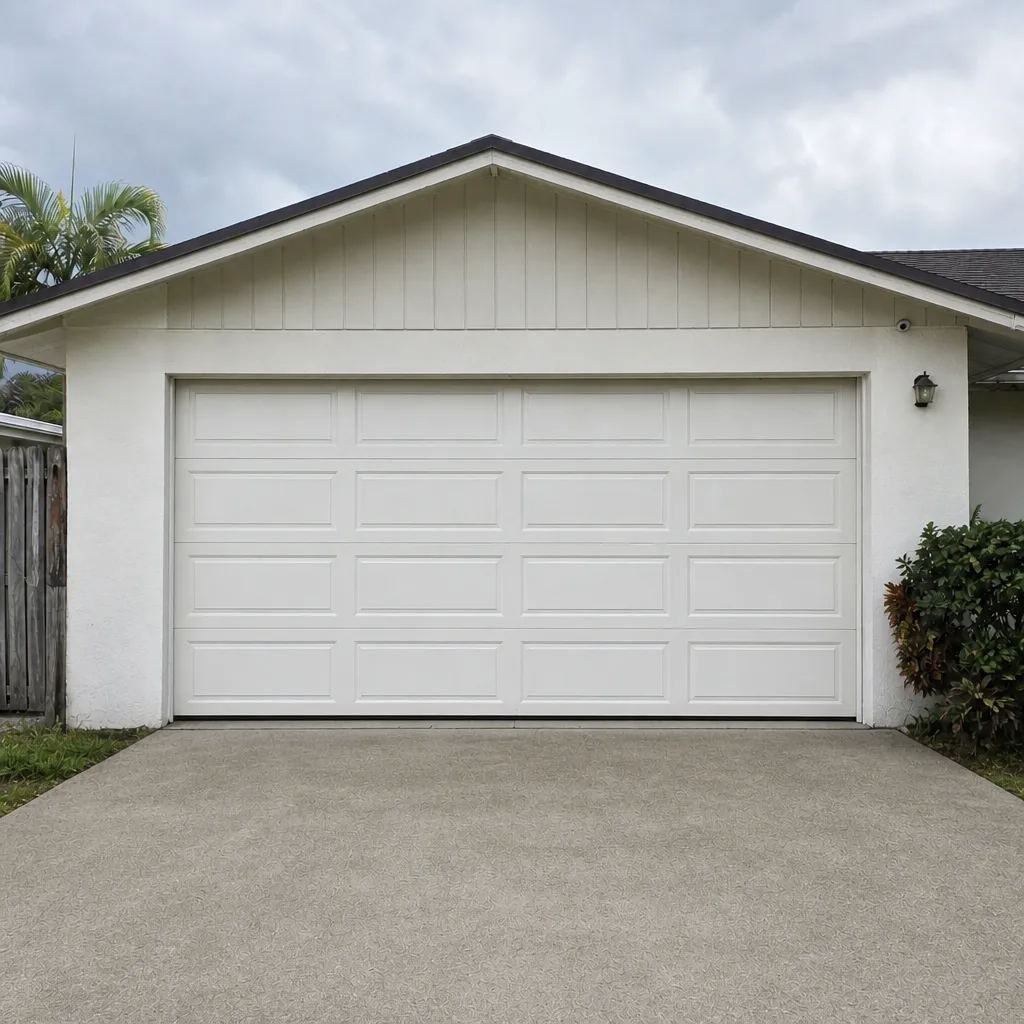 After
 Before
 After
 Before
 After
Frequently Asked Questions
Every month for the safety checks (photo-eyes, auto-reverse, visual spring inspection) and twice a year for a full tune-up. In Deerfield Beach, we recommend tightening the annual calendar around hurricane prep and the end of the rainy season, since those are the two moments the door is under the most stress. A professional tune-up before hurricane season catches balance and hardware issues while there’s time to fix them.
Yes, lubricating springs is safe if the door is stationary and you’re only applying lubricant to the outside of the coils, never prying or moving them. Use a product made for garage doors, not general-purpose oil. The line is: touch the surface, never the tension. Any actual repair or adjustment of a spring needs a trained technician.
Direct sunlight overwhelms the sensor’s receiver, which the opener logs as a fault and triggers a false reversal. This is more common on west-facing doors in Florida. Small shade caps or a slight reposition of the eye often fix it. If the problem continues through the day, the sensor itself is likely failing and needs replacement.
Broken springs lead the list, followed by opener issues and storm-related panel or bracket damage. Spring failures often follow the wet season, since corrosion weakens the coil over months before it snaps. Opener failures tend to be a mix of worn motors, failing logic boards, and photo-eye faults. All three are repairable, and none of them automatically means a new door.
Both full springs, the bottom brackets, the cable drums, the opener’s model label, the door’s balance point when opened halfway, and the sensors on each side. That single set of photos gives the technician enough to quote accurately and arrive with the right information. Store them by date so you have a baseline if something changes later.
We work on eight of the most common residential garage door and opener brands: LiftMaster, Chamberlain, Genie, Clopay, Amarr, Wayne Dalton, Craftsman, and Raynor. That includes traditional RF openers as well as app-connected smart systems like LiftMaster MyQ and Genie Aladdin Connect. Whether you’re dealing with a legacy Craftsman unit or a newer smart opener, we repair the brand you already have rather than pushing a replacement.
The Bottom Line
The health of a Deerfield Beach garage door comes down to a handful of specific checks done regularly: the spring coils, the bottom brackets and cable drums, the photo-eye and auto-reverse tests, and the balance point. Skip those and you’re flying blind. Do them monthly and you catch failures while they’re still repairs rather than emergencies. The seasonal calendar matters too, because the rainy season and hurricane prep are the two windows where hardware gets tested hardest. A ten-minute monthly routine, a twice-a-year tune-up, and a set of photos on your phone gives you the information you need to make smart decisions about the door. When a real problem shows up, you’ll know what to do and who to call.
Contact
If your Deerfield Beach garage door is running rough, binding, or making noises it didn’t used to make, don’t wait for it to fail. Call Deerfield Beach Garage Door Repair Pros at (855) 210-1282 for a free estimate. A technician can diagnose on site, talk through what’s actually wrong, and quote a written price before anything starts. Our technicians have up to 12 years of experience and specialize in door repair, opener repair, and spring repair across the eight brands we cover: LiftMaster, Chamberlain, Genie, Clopay, Amarr, Wayne Dalton, Craftsman, and Raynor. We’re confident enough in the work that we back it with a satisfaction guarantee.
Written by the team at Deerfield Beach Garage Door Repair Pros.